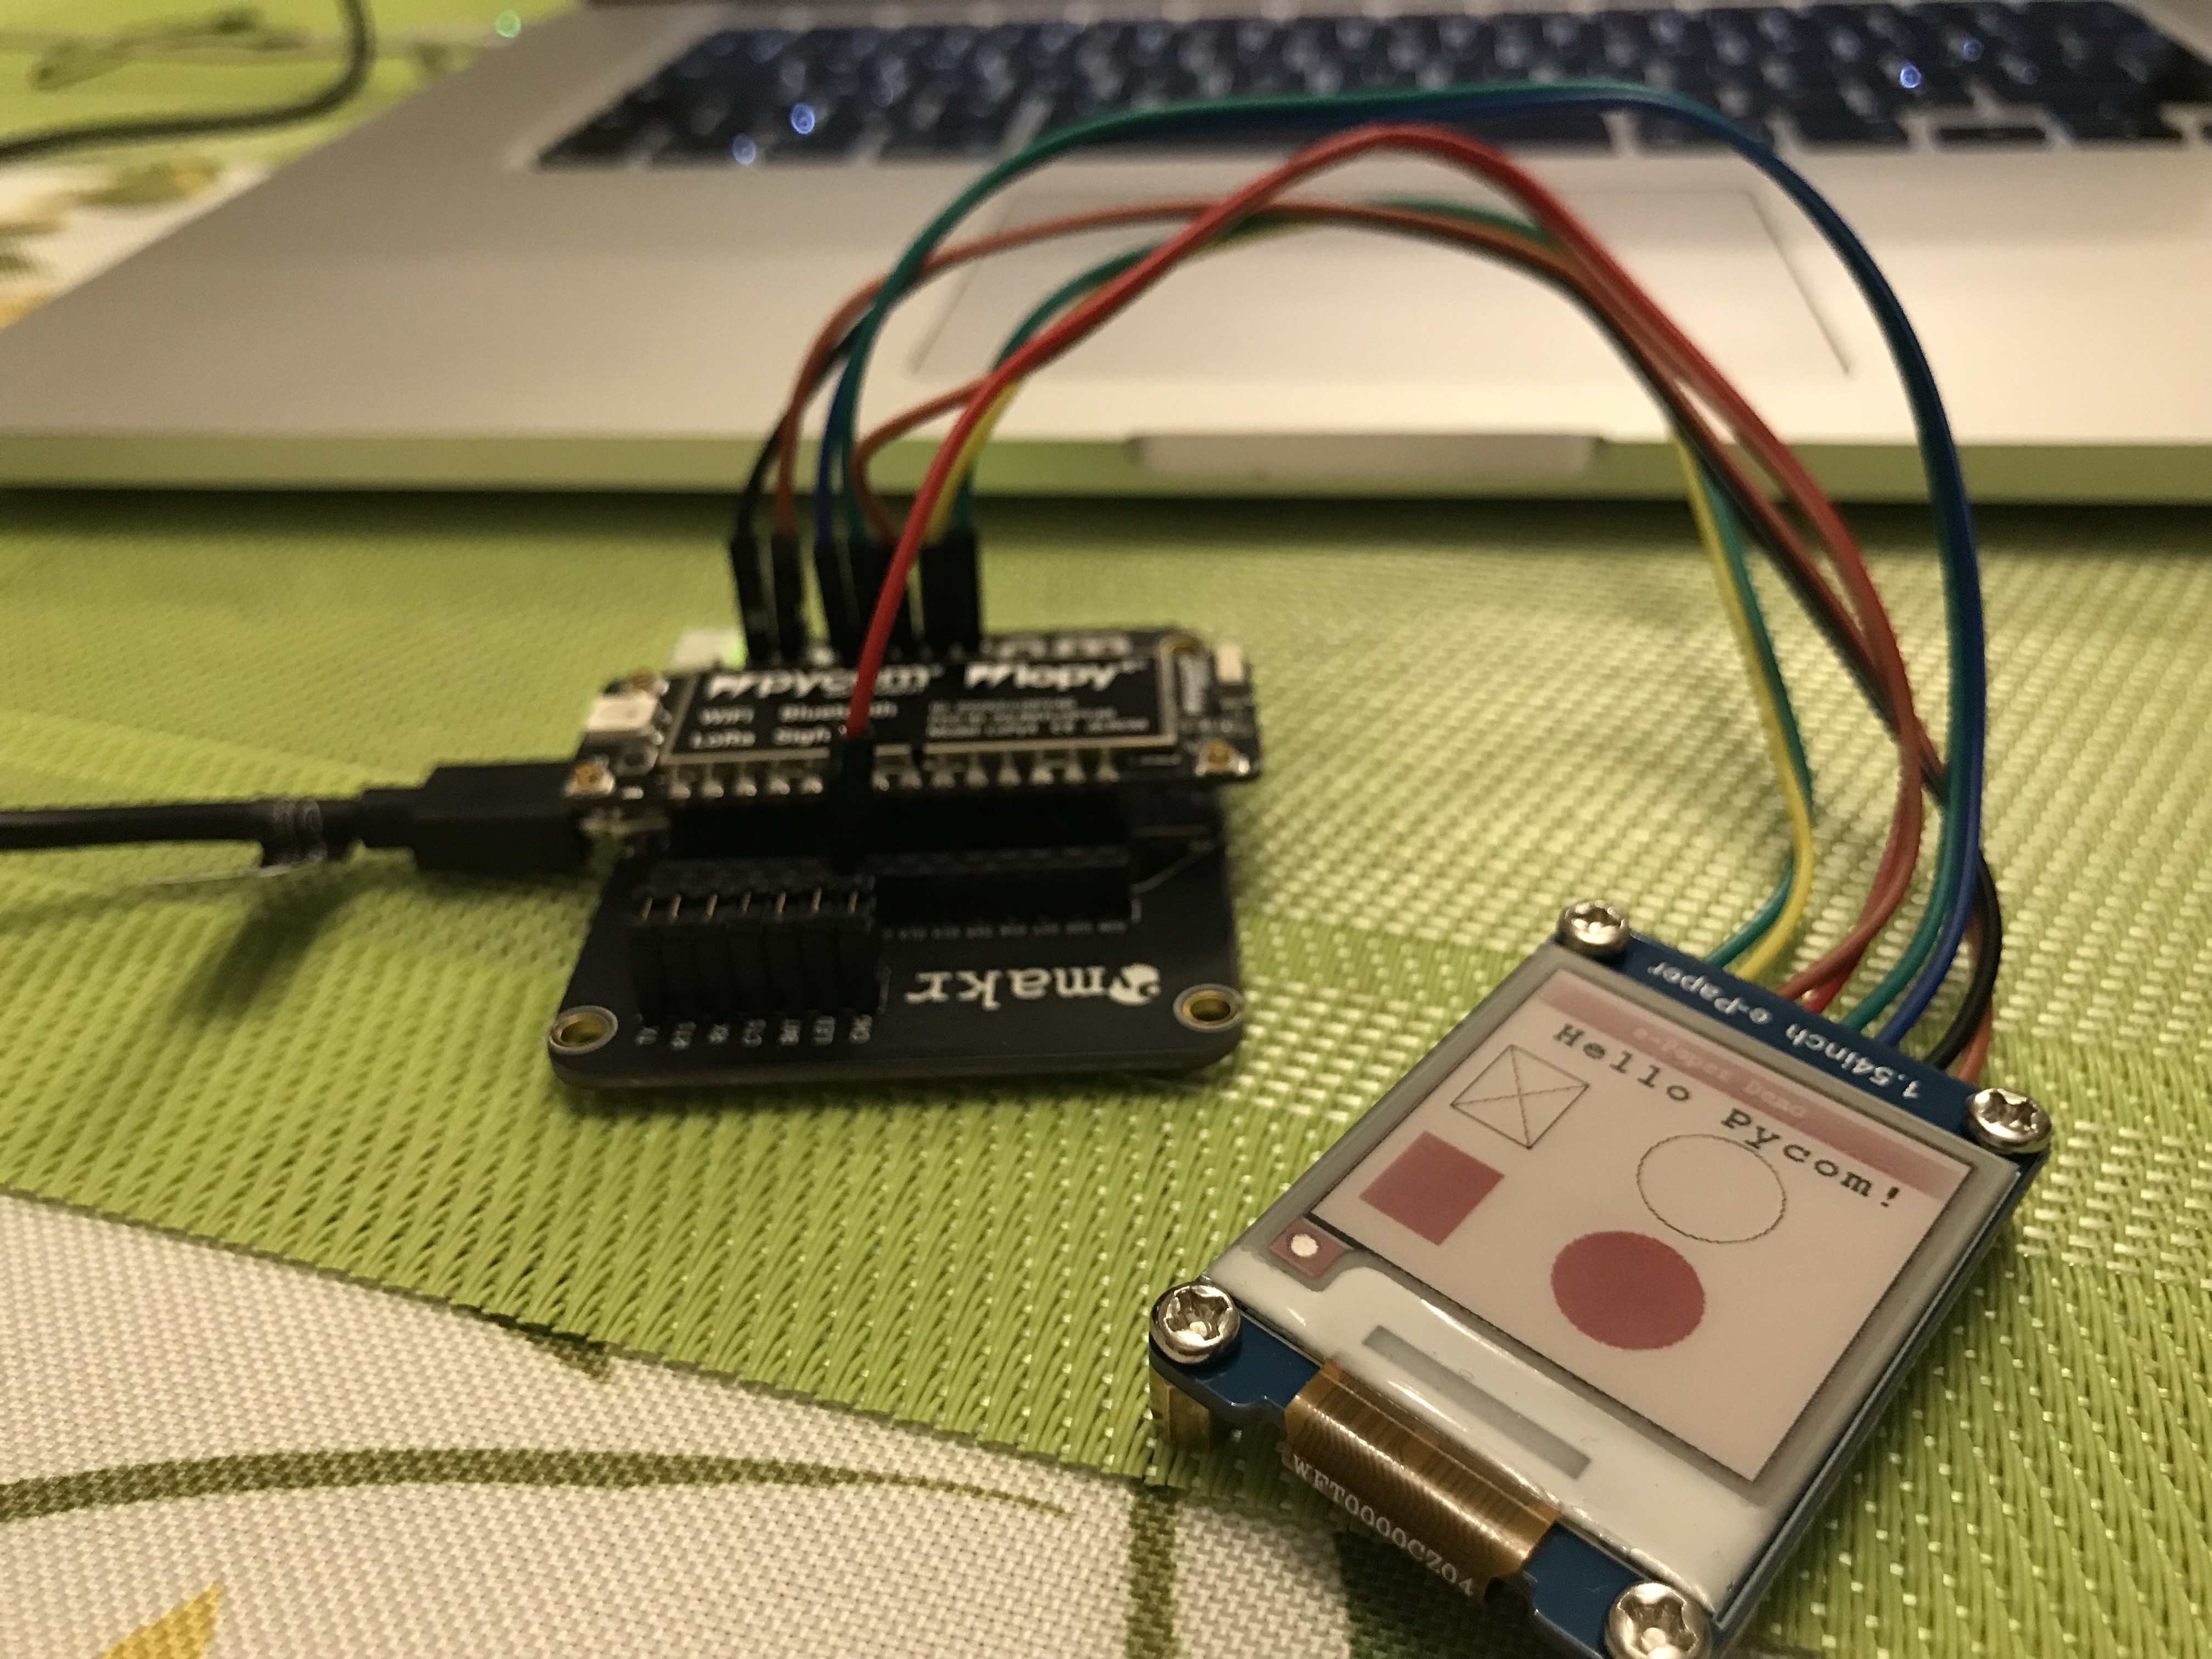
I recently got a Waveshare E-Paper Display, in order to learn more about displays – programming and using them with microcontrollers. I chose specifically the e-paper because of its features like very low power consumption (up to 8mA only when refreshing) and preserving the state when unpowered. The latter can be especially handy for battery-powered sensor devices. Think of an environmental sensor that measures data only once in a while and sleeps in between, but with e-paper, it can display e.g. the last measurement all the time without affecting battery life. For starters, I got the pretty small, 1.54" display, with three available colours, i.e. black, red, and no colour.
The Waveshare E-Paper Display (EPD) communicates via SPI, uses 6 pins for communication (which with power supply makes 8 in total). It comes with libraries for Arduino, Raspberry Pi (in Python and C++) and STM32, so you're all set on these platforms. For other environments, well, tough luck.
MicroPython implementation
The Python library for Raspberry Pi uses PIL (Python Imaging Library) for displaying text and images. It's awesome because it greatly simplifies the implementation. PIL is however not available in MicroPython, so I had to resort to drawing text using fonts defined in the code as arrays.
Optimizations
Here's the example definition of a letter 'A' in a 24-pixel font:
# @2376 'A' (17 pixels wide)
0x00, 0x00, 0x00, #
0x00, 0x00, 0x00, #
0x00, 0x00, 0x00, #
0x1F, 0x80, 0x00, #    ######
0x1F, 0xC0, 0x00, #    #######
0x01, 0xC0, 0x00, #        ###
0x03, 0x60, 0x00, #       ## ##
0x03, 0x60, 0x00, #       ## ##
0x06, 0x30, 0x00, #      ##   ##
0x06, 0x30, 0x00, #      ##   ##
0x0C, 0x30, 0x00, #     ##    ##
0x0F, 0xF8, 0x00, #     #########
0x1F, 0xF8, 0x00, #    ##########
0x18, 0x0C, 0x00, #    ##       ##
0x30, 0x0C, 0x00, #   ##        ##
0xFC, 0x7F, 0x00, # ######   #######
0xFC, 0x7F, 0x00, # ######   #######
0x00, 0x00, 0x00, #
0x00, 0x00, 0x00, #
0x00, 0x00, 0x00, #
0x00, 0x00, 0x00, #
0x00, 0x00, 0x00, #
0x00, 0x00, 0x00, #
0x00, 0x00, 0x00, #
Full font definition is available here. 3x24 = 72 bytes are required for a single character. Now multiply it by the number of printable ASCII characters (95, in the 32-127 range) and you'll get 6840 items in the list. Even for the small 8-pixel font the list has 760 elements.
Similarly for images, to display an image you'll need a full-screen bitmap, which in case of my small 200x200px display is a list with 200x200/8 = 5000 bytes.
This brings up performance problems on all possible fronts: loading a font module is terribly slow and it generates huge memory overhead. Have a look:
>>> from machine import Timer
>>> import time
>>> import gc
>>>
>>> chrono = Timer.Chrono()
>>> mem_free = gc.mem_free()
>>> chrono.start() # start a timer
>>> import font24
>>> chrono.stop() # stop a timer after a module has loaded
>>> print(mem_free - gc.mem_free())
36656
>>> print(chrono.read()*1000)
1666.031
Over 30kB of RAM and over 1.5s to load a module 😱. But we're far from the optimal solution here. For starters, let's replace the list with bytes - struct can be used for that:
>>> import ustruct as struct
>>> import font24
>>> data = struct.pack("%sB" % len(font24.data), *(font24.data))
Now data is a bytes object with contents of font24.data. Furthermore, bytes is an immutable data structure, which is exactly what we need for font files, and it can allow MicroPython interpreter to optimize it better.
The optimized font file looks like this. Well, you won't easily consult the individual letters anymore, but that's the price for it being FAST. Here's how fast:
>>> chrono = Timer.Chrono()
>>> mem_free = gc.mem_free()
>>> chrono.start() # start a timer
>>> import font24
>>> chrono.stop() # stop a timer after a module has loaded
>>> print(mem_free - gc.mem_free())
14240
>>> print(chrono.read()*1000)
377.0546
More than 4 times faster to load, with roughly a third of an original memory footprint. 💥🚀😎
If this wasn't enough, we can go further.
Frozen modules
A lengthy Python module, and especially a huge chunk of immutable binary data is a perfect candidate to be included in the firmware. It's not a trivial task as it includes building a firmware image yourself, but it's also not overly complicated. If it's something you haven't tried yet, I encourage you to give it a spin.
- Get the Pycom MicroPython source code from GitHub:
https://github.com/pycom/pycom-micropython-sigfox - Recommended: check out the most recent tag, so that you build the release image, and not the current live image from git:
$ git tag # list available tags 1.11.0.b1 1.12.0.b1 1.13.0.b1 1.6.13.b1 v1.14.0.b1 v1.15.0.b1 v1.16.0.b1 v1.17.0.b1 v1.17.2.b1 $ git checkout v1.17.2.b1 - Follow the instructions in README closely on how to set up the build environment (the The ESP32 version section) up to the point of building
mpy-cross - Actually, build
mpy-crossaccording to instructions - Enter
esp32/frozen - Copy there all the
.pyfiles you need to be frozen in firmware - Go one level up, to
esp32directory - Make a build for your board. In case of my LoPy4, the commands were:
Note on$ make BOARD=LOPY4 clean $ make BOARD=LOPY4 TARGET=boot -j9 $ make BOARD=LOPY4 TARGET=app -j9 $ make BOARD=LOPY4 flash-j9: it is used to speed up building by parallelizing the compilation of independent objects. The number specifies the maximum number of jobs that can be run in parallel. As a rule of thumb, you can safely use-j5on dual-core machines and-j9on quad-core machines. - Flash the image according to the README.
Now you don't need your frozen modules' files on the flash because they're included in the firmware. Other than that you work with frozen modules the same way as with regular ones, i.e. you still import them using import statement, etc.
And here's how a module performs after freezing:
>>> chrono = Timer.Chrono()
>>> mem_free = gc.mem_free()
>>> chrono.start() # start a timer
>>> import font24
>>> chrono.stop() # stop a timer after a module has loaded
>>> print(mem_free - gc.mem_free())
560
>>> print(chrono.read()*1000)
16.80003
Here, the garbage collector is irrelevant because frozen modules are apparently already loaded into RAM together with the whole firmware, but as you can see, the improvement in import time is huge.
To recap the optimizations, we've tried:
- list data: 36kB RAM, 1666ms to import
- bytes data: 14kB RAM, 377ms to import
- frozen bytes data: N/A (loaded with firmware), 16ms to import
Also, with a simple test program that draws a couple of shapes, prints a few strings and displays an image, the total available RAM remaining after the program has finished is around 2.4MB (with 2.55MB available at startup after loading firmware), when before optimizations it was at around 1.8MB.

Library features
In the current state, the library supports only the 1.54 inch two-colour black and red Waveshare display, but adding support for other EPDs should be a simple task. I'll maybe get some other unit to give it a try.
Apart from printing text, you can also draw lines (between any two points, i.e. not limited to horizontal and vertical) or rectangles and circles (both regular and filled).
[caption id="attachment_582" align="alignright" width="269"] #GOINVENT![/caption]
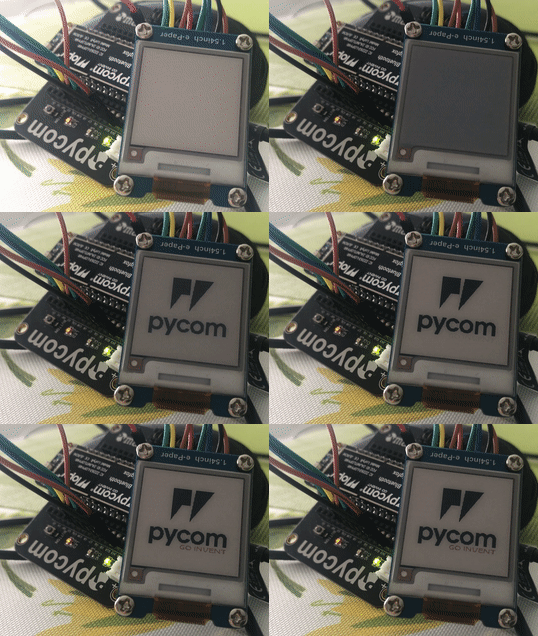
Drawing images is available via filling the frame buffer with raw image bytes (which is the fastest possible way, especially if you freeze the image data in firmware). It's not a very straightforward or flexible method though, as you have to convert your image to bytes beforehand. So I added support for loading a Windows-style 1-color BMP file directly. You can even display the bitmap at given coordinates, if it's smaller than the screen size – this should be helpful when combining images with text.
The library is available from GitHub, and should you need the C/C++ version for plain ESP32, I also did it and it's in a separate repository (although without the BMP file support). Let me know if you find any of it helpful and of course, contributions are welcome!